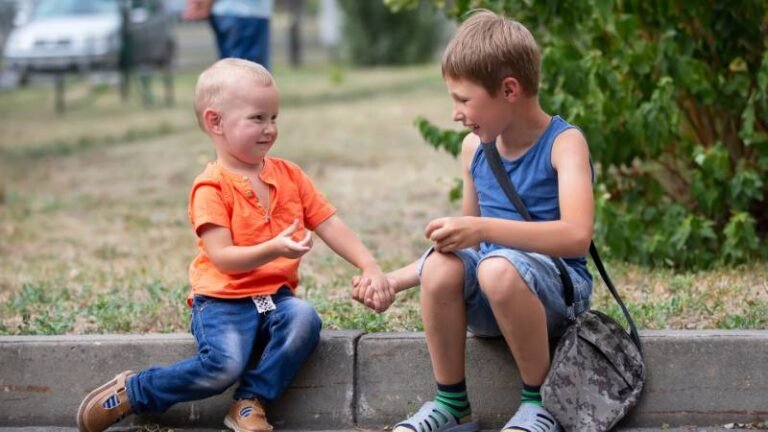
Cuando intentamos conseguir comunicación y lenguaje en niños no verbales, el uso de la imagen como apoyo visual es una herramienta muy eficaz, así como los modelos de imitación, para conseguir que los niños se integren y empiecen a desarrollar habilidades comunicativas básicas. El apoyo visual se usa de manera que el niño integre la información que reforzamos verbalmente. Os daré unos cuantos ejemplos de cómo llevar a cabo este trabajo con 5 propuestas diferentes:
- Visual aids: “My favorite things”
It is very important to start with what is closest to the child, with what catches his or her attention. We return again to the topic of motivation, so we are going to design a communication board called “My favorite things” with your 3, 4 or 5 favorite things. We start with that bond with him, which includes known, favorite, recognizable and desirable objects. With this ceiling, which is usually placed on a laminated cardboard with Velcro to be able to play with the images, we can start with:
· Make exchanges between the photo and the object
· Intentar destrezas como la señalización, dándole toda la ayuda que necesita porque esos modelos de imitación harán que mañana logre hacerlo solo o con la menor ayuda posible.
· Trabajar la asociación con dos imágenes iguales de esos objetos, con imágenes parecidas o muy diferentes, pero siendo siempre el mismo objeto. Esto hará que, aunque nuestro niño esté en el mismo entorno que sus objetos favoritos trabaje transversalmente habilidades de discriminación, asociación y categorización.
Whenever we work on these types of activities we must verbally reinforce by saying the name of the objects. Before verbal expression there is the reception of the verbal message, that is, the comprehension ability of language, and that is where we have to begin to make sure what is understood and what is not, in order to subsequently work and feed verbal development.
- 2. Visual supports: “My schedule”
A further step along this line would be, for example, making a schedule through images. We will start as always with something simple and recognizable, such as choosing 4 or 5 images per day: from school, from home, a photo of him playing in the afternoon at home, a photo of his therapist, a photo of him having dinner or going to the bed. Using real photos of yourself will help better internalize these communication panels.
You will see that after reviewing these routines before starting the day and/or when we finish them, there are moments of attention, preferences and connections, beginning to see links of communication thanks to the use of the image as visual support.
- 3. Support: “People around me or My family”
Another idea for a communication ceiling could be the people around me or my family. If we intend to work on communication and socialization we have to prioritize the people around us. Take photos of all the important people who are in direct contact with the child and, little by little, you will be able to integrate these people into your own schedule: mom, dad, siblings, grandparents, the teacher and the therapist.
- 4. Visual supports: “ My behaviors/My emotions”
Otra idea de plafón de comunicación tiene una base conductual y emocional, con el objetivo de reforzar todas las cosas que hace bien e intentar reducir o eliminar aquellas que no le salen tan bien. Puede ser muy útil desarrollar un tablero de comunicación para conductas apropiadas e inapropiadas, para poder trabajar todas estas conductas, no sólo en el momento que ocurren, sino después (sobre todo para las conductas inapropiadas).
En los momentos en los que esté receptivo, como contándole una historia, podemos ver fotos de niños haciéndolo superbién y así ir mostrándole qué esperamos de él, qué es lo que va a hacerle más feliz y mostrarle el camino de la integración social, el respeto a los demás, el cariño y todas estas acciones positivas que enriquecen nuestra vida. Fotos abrazándolo, haciéndolo reír, compartiendo cosas, dándole sus cosas favoritas, etc.
No intentéis abordar todas estas actividades al mismo tiempo, escoged la que por intuición os hace sentir que puede ser la adecuada para vuestro niño, por sus preferencias, por sus habilidades, por su momento evolutivo o por lo más inmediato. Intentar encontrar la estrategia para que esa actividad funcione y pueda ser transferible a muchas otras actividades.
Todas estas herramientas visuales nos darán la oportunidad de anticipar, un concepto muy importante a tener en cuenta cuando estamos ayudando a niños no verbales que están claramente desorientados y necesitan saber qué es lo que va a venir después. Con estas herramientas les damos la oportunidad de anticipar una actividad o una secuencia de actividades, los que les ayudará a estar emocionalmente más serenos. Además, después del trabajo sistemático estas herramientas llegan a ser puentes que el propio niño puede utilizar para desarrollar su comunicación funcionalmente.
Visual aids: PECS: Alternative Communication System
Mencionamos aquí lo que se llaman PECS o Sistema de comunicación aumentativo por intercambio de imágenes de los que hay muchas creencias sobre que su implementación dilata el desarrollo del lenguaje verbal. Respeto enormemente las creencias de todas las personas de este campo, pero siento desbloquear este mito, porque todo lo que acontece en los niños que implementan este sistema de comunicación es una falta de ella: niños no verbales que requieren de todo lo que sea preciso para promover esta habilidad con éxito para su propia salud mental y emocional.
The first thing for non-verbal children is to create that need, that channel of communication and then redirect it towards verbal and expressive language. The priority of communication is undeniable, so we cannot leave our children without this tool. If a child has the capacity for language, he or she will not lose it by using PECS, signs or another alternative communication system.
We hope that it has been useful for you to know the use of the image as a visual support.